The Editing Vineyard
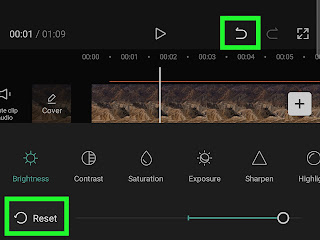
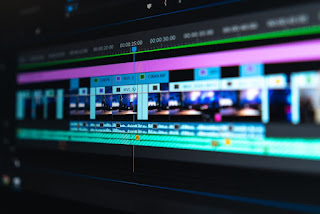
Welcome back guys, although I said I would edit next week, I decided that editing the first video clip I shot would be easier. I'll tell you about all of the days that I shot and what transpired the next time. Right now, I edited scene 5, which is basically the first video clip. I just filmed the first half of the scene because the other half is just a collage of photos, so I will be putting those together. Similar to how I used CapCut on the last project, I am going to be using CapCut on this project. I carefully arranged the images and video so that the pictures and video would be easier to find. I used CapCut to adjust each component's color, saturation, contrast, and brightness to make sure the visuals melded together perfectly and looked good throughout the entire video. This gave me the opportunity to establish the piece's mood and tone, with warmer colors producing a gloomy atmosphere and colder tones suggesting sadness and reflection. To make the project flow well, I cropped the images and videos to the same size. Due to its length, I also trimmed a few parts of the video. The way the images and video parts transitioned between one another was also considerable thought. In order to give the impression that time is passing, I decided to use jump cuts for about every transition. I zoomed in closer while using some high angles to enhance the mood. To ensure coherence in the finished work, I wanted to stick to a consistent style and tone. When exporting the finished product, I ensured to choose the optimal quality settings. After reviewing the finished product and getting input from others, I was able to spot errors and places that needed work. That concludes the scene's editing. I'll film the other scenes the next time. Stay tuned for my next blog where I’ll unravel even more mysteries about making a music video. Trust me; you won't want to miss it.


Comments
Post a Comment