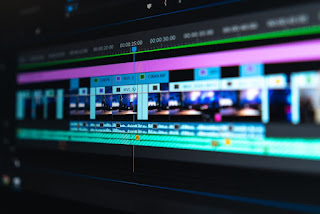
Editing Since Have Nothing Else to Do
Welcome back guys, given that I'm planning to film the majority of it over the weekend. I made the decision to edit some of the scenes I currently have. Because CapCut is free and simple to use, I'm going to use it to make my project and handle all of the edits. I will concentrate my attention to scenes 6, 7, and 8. As I don't have extra time to do more. But I'll finish most of it after the weekend. Also, I've edited with CapCut before because I used it on my last two projects. In order to make the images and video easier to find, I carefully organized them into a folder. To ensure that the images blended together flawlessly and looked good throughout the entire video, I used CapCut to change the color, saturation, contrast, and brightness of each component. This allowed me to choose the tone and mood of the work; the colder tones suggested reflection and mystery. I cropped the videos and photos to the same size in order to maintain the project's size. I also cut some of the video because of its length. I also considered the types of transitions I could use for the scenes. I made the decision to incorporate jump cuts and fades into the transitions. I wanted to keep to a consistent design and tone to guarantee cohesion in the final product. I made sure to select the best quality options before exporting the final output. I was able to recognize mistakes and areas that needed improvement after looking over the final product and gaining feedback from others. The editing of the scene is now complete. Next time, I'll record the remaining scenes. Stay tuned for my next blog where I’ll unravel even more mysteries about making an opening scenes video. Trust me; you won't want to miss it.


Comments
Post a Comment